samsung dv40j3000ew/a2 repair manual
Summary
Download the Samsung DV40J3000EW/A2 repair manual for easy appliance fixes. Get comprehensive guides and troubleshooting tips here.
Welcome to the Samsung DV40J3000EW/A2 repair guide‚ designed to help users diagnose and fix common issues with their dryer. This manual provides detailed instructions‚ diagrams‚ and troubleshooting tips for effective repairs;
Overview of the Samsung DV40J3000EW/A2 Dryer Model
The Samsung DV40J3000EW/A2 is a 7.2 cu. ft. electric dryer designed for efficient clothes drying. It features a front-loading design and moisture-sensing technology to optimize drying performance. This model is part of the DV3000J DRYER PROJECT and is known for its reliability and user-friendly interface. With a freestanding setup‚ it fits seamlessly into most laundry spaces. The dryer is equipped with advanced sensors to prevent over-drying and ensure energy efficiency. Its large capacity makes it ideal for households with heavy laundry demands. The DV40J3000EW/A2 is compatible with various repair parts and accessories‚ ensuring easy maintenance. It is part of Samsung’s lineup of innovative home appliances‚ offering a balance of performance and convenience. This model is widely supported by official service manuals‚ making repairs and troubleshooting straightforward for both professionals and DIY enthusiasts. Its design and features reflect Samsung’s commitment to delivering high-quality‚ durable appliances for modern homes.
Importance of Using the Official Service Manual
The official Samsung DV40J3000EW/A2 service manual is essential for ensuring accurate and safe repairs. It provides detailed disassembly instructions‚ schematic diagrams‚ and parts lists‚ making it easier to identify and replace faulty components. The manual includes troubleshooting guides and wiring diagrams‚ which are crucial for diagnosing issues like error codes or malfunctions in heating and motor systems. Using the official manual ensures that repairs are performed correctly‚ reducing the risk of further damage or safety hazards. It also helps maintain the dryer’s warranty compliance and optimal performance. Professionals and DIY enthusiasts alike benefit from the comprehensive information‚ which streamlines the repair process. By following the official guidelines‚ users can confidently address common issues and extend the lifespan of their appliance. The manual is a valuable resource for anyone looking to repair the Samsung DV40J3000EW/A2 dryer efficiently and effectively.
Troubleshooting Common Issues
This section guides you through identifying error codes and diagnosing malfunctions in heating‚ motor‚ and control systems. It provides step-by-step solutions and troubleshooting tips to address common issues efficiently.
Identifying Error Codes and Their Solutions
Diagnosing Malfunctions in Heating‚ Motor‚ and Control Systems
Diagnosing issues in the heating‚ motor‚ and control systems of the Samsung DV40J3000EW/A2 dryer requires a systematic approach. Start with the heating system: check for clogged vents‚ faulty heating elements‚ or malfunctioning thermostats. Use a multimeter to test resistance and continuity in these components. For motor issues‚ inspect for unusual noises‚ failure to start‚ or overheating. Verify belt tension and ensure proper motor connections. In the control system‚ look for faulty buttons‚ unresponsive displays‚ or incorrect settings. Test switches and wiring using the service manual’s circuit diagrams. Always reference the official Samsung service manual for precise troubleshooting steps and safety guidelines. Addressing these malfunctions promptly ensures efficient and safe operation of the dryer. Regular maintenance‚ such as cleaning vents and checking connections‚ can prevent many of these issues. This section provides detailed guidance for accurate diagnoses and effective repairs.

Disassembly and Reassembly Instructions
Disassembling and reassembling the Samsung DV40J3000EW/A2 dryer requires careful attention to detail. Follow the official service manual for step-by-step guidance on removing panels‚ disconnecting components‚ and safely reassembling the unit.
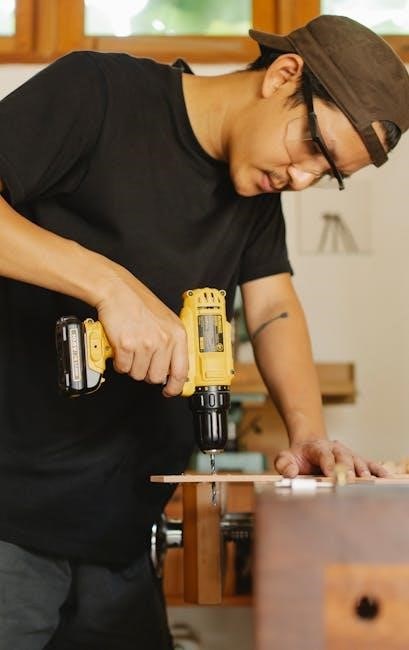
Step-by-Step Guide to Disassembling the Dryer
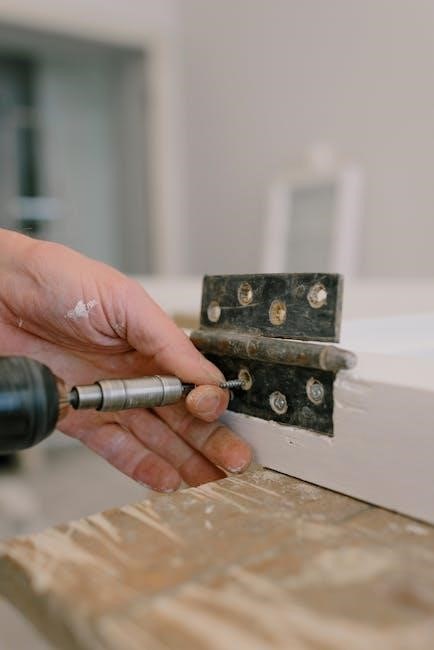
Disassembling the Samsung DV40J3000EW/A2 dryer begins with disconnecting the power supply and ensuring the unit is cool. Start by removing the top panel using a screwdriver to access internal components. Next‚ take off the front access panel by releasing screws and clips. Carefully lift the drum to expose the motor‚ belt‚ and heating system. Disconnect the belt from the motor pulley and remove the drum support rollers. For intricate parts‚ refer to the official service manual diagrams to avoid damaging electrical connections or sensors. Remove the control panel by detaching screws and gently pulling it away. Disconnect wiring harnesses carefully to prevent damage. Document each step and store screws securely to ensure a smooth reassembly process. Follow the manual’s instructions precisely to avoid complications.

Reassembling the Dryer After Repair
Reassembling the Samsung DV40J3000EW/A2 dryer requires careful attention to detail to ensure proper functionality. Begin by reattaching the drum support rollers‚ ensuring they are securely fastened to the chassis. Next‚ align the drum and reconnect it to the motor pulley‚ making sure the belt is properly seated and tensioned. Replace the front access panel‚ tightening all screws and clips firmly. Reattach the control panel‚ ensuring all wiring harnesses are securely connected to their respective components. Finally‚ reinstall the top panel and reconnect any remaining electrical connections. Double-check all fasteners and connections for tightness and accuracy. Once reassembled‚ test the dryer by running a short cycle to ensure it operates smoothly and without unusual noises. Always refer to the official service manual for specific torque specifications and alignment guidelines to guarantee a successful reassembly.
Parts and Components
The Samsung DV40J3000EW/A2 dryer consists of key components like the drum‚ motor‚ heating element‚ and control panel. Refer to the official service manual for a detailed parts list and schematic diagrams to ensure accurate repairs and replacements.
Understanding the Parts List and Schematic Diagrams
The Samsung DV40J3000EW/A2 repair manual includes a detailed parts list and schematic diagrams to help users identify and locate components. These diagrams provide a visual representation of the dryer’s internal structure‚ making it easier to understand how parts are connected and function. The parts list categorizes components by their roles‚ such as heating elements‚ motors‚ and control panels‚ ensuring precise identification. Schematic diagrams often highlight wiring connections and mechanical linkages‚ which are crucial for diagnosing electrical or mechanical issues. Exploded views of the dryer’s assembly are also included‚ allowing users to see how components fit together. By referencing these resources‚ users can accurately identify faulty parts and plan repairs effectively. The official service manual is the most reliable source for these diagrams‚ ensuring accuracy and safety during the repair process. Always cross-reference the parts list with the diagrams to avoid confusion and ensure correct replacements.
Locating and Replacing Faulty Components
Locating and replacing faulty components in the Samsung DV40J3000EW/A2 dryer requires a systematic approach. Start by referencing the official service manual‚ which provides detailed parts lists and diagrams to identify components. Use the error codes displayed on the dryer’s control panel to pinpoint potential issues. For example‚ if the dryer isn’t heating‚ check the heating element‚ thermal sensors‚ or power supply. Once the faulty part is identified‚ shut off the power and unplug the dryer for safety. Use the schematic diagrams to guide disassembly and access the component. Replace the faulty part with a genuine Samsung replacement to ensure compatibility and reliability. Tighten all connections securely and reassemble the dryer in the reverse order of disassembly. After replacement‚ test the dryer to confirm the issue is resolved. Always follow safety precautions and consider professional help if unsure about the repair process.